Basic chair seat upholstery
Upholstering a chair seat is a fun and relatively easy way to dip your toe into upholstery or, if you’re more experienced, do a quick decor refresh in an afternoon. You can either take off the old fabric and foam and redo it (there’s a post on here about cutting foam) or just cover over the existing fabric.
A moment’s aside on fabric: small non geometric patterns will always be easier to line up (or have no one notice when you don’t) than larger repeating or geometric patterns.

My upholstery teacher suggested getting a staple gun where you push forward to staple (as opposed to having to just squeeze). She suggested this one and it has never failed me. I like either 1/4 or 1/2 inch staples for most projects.
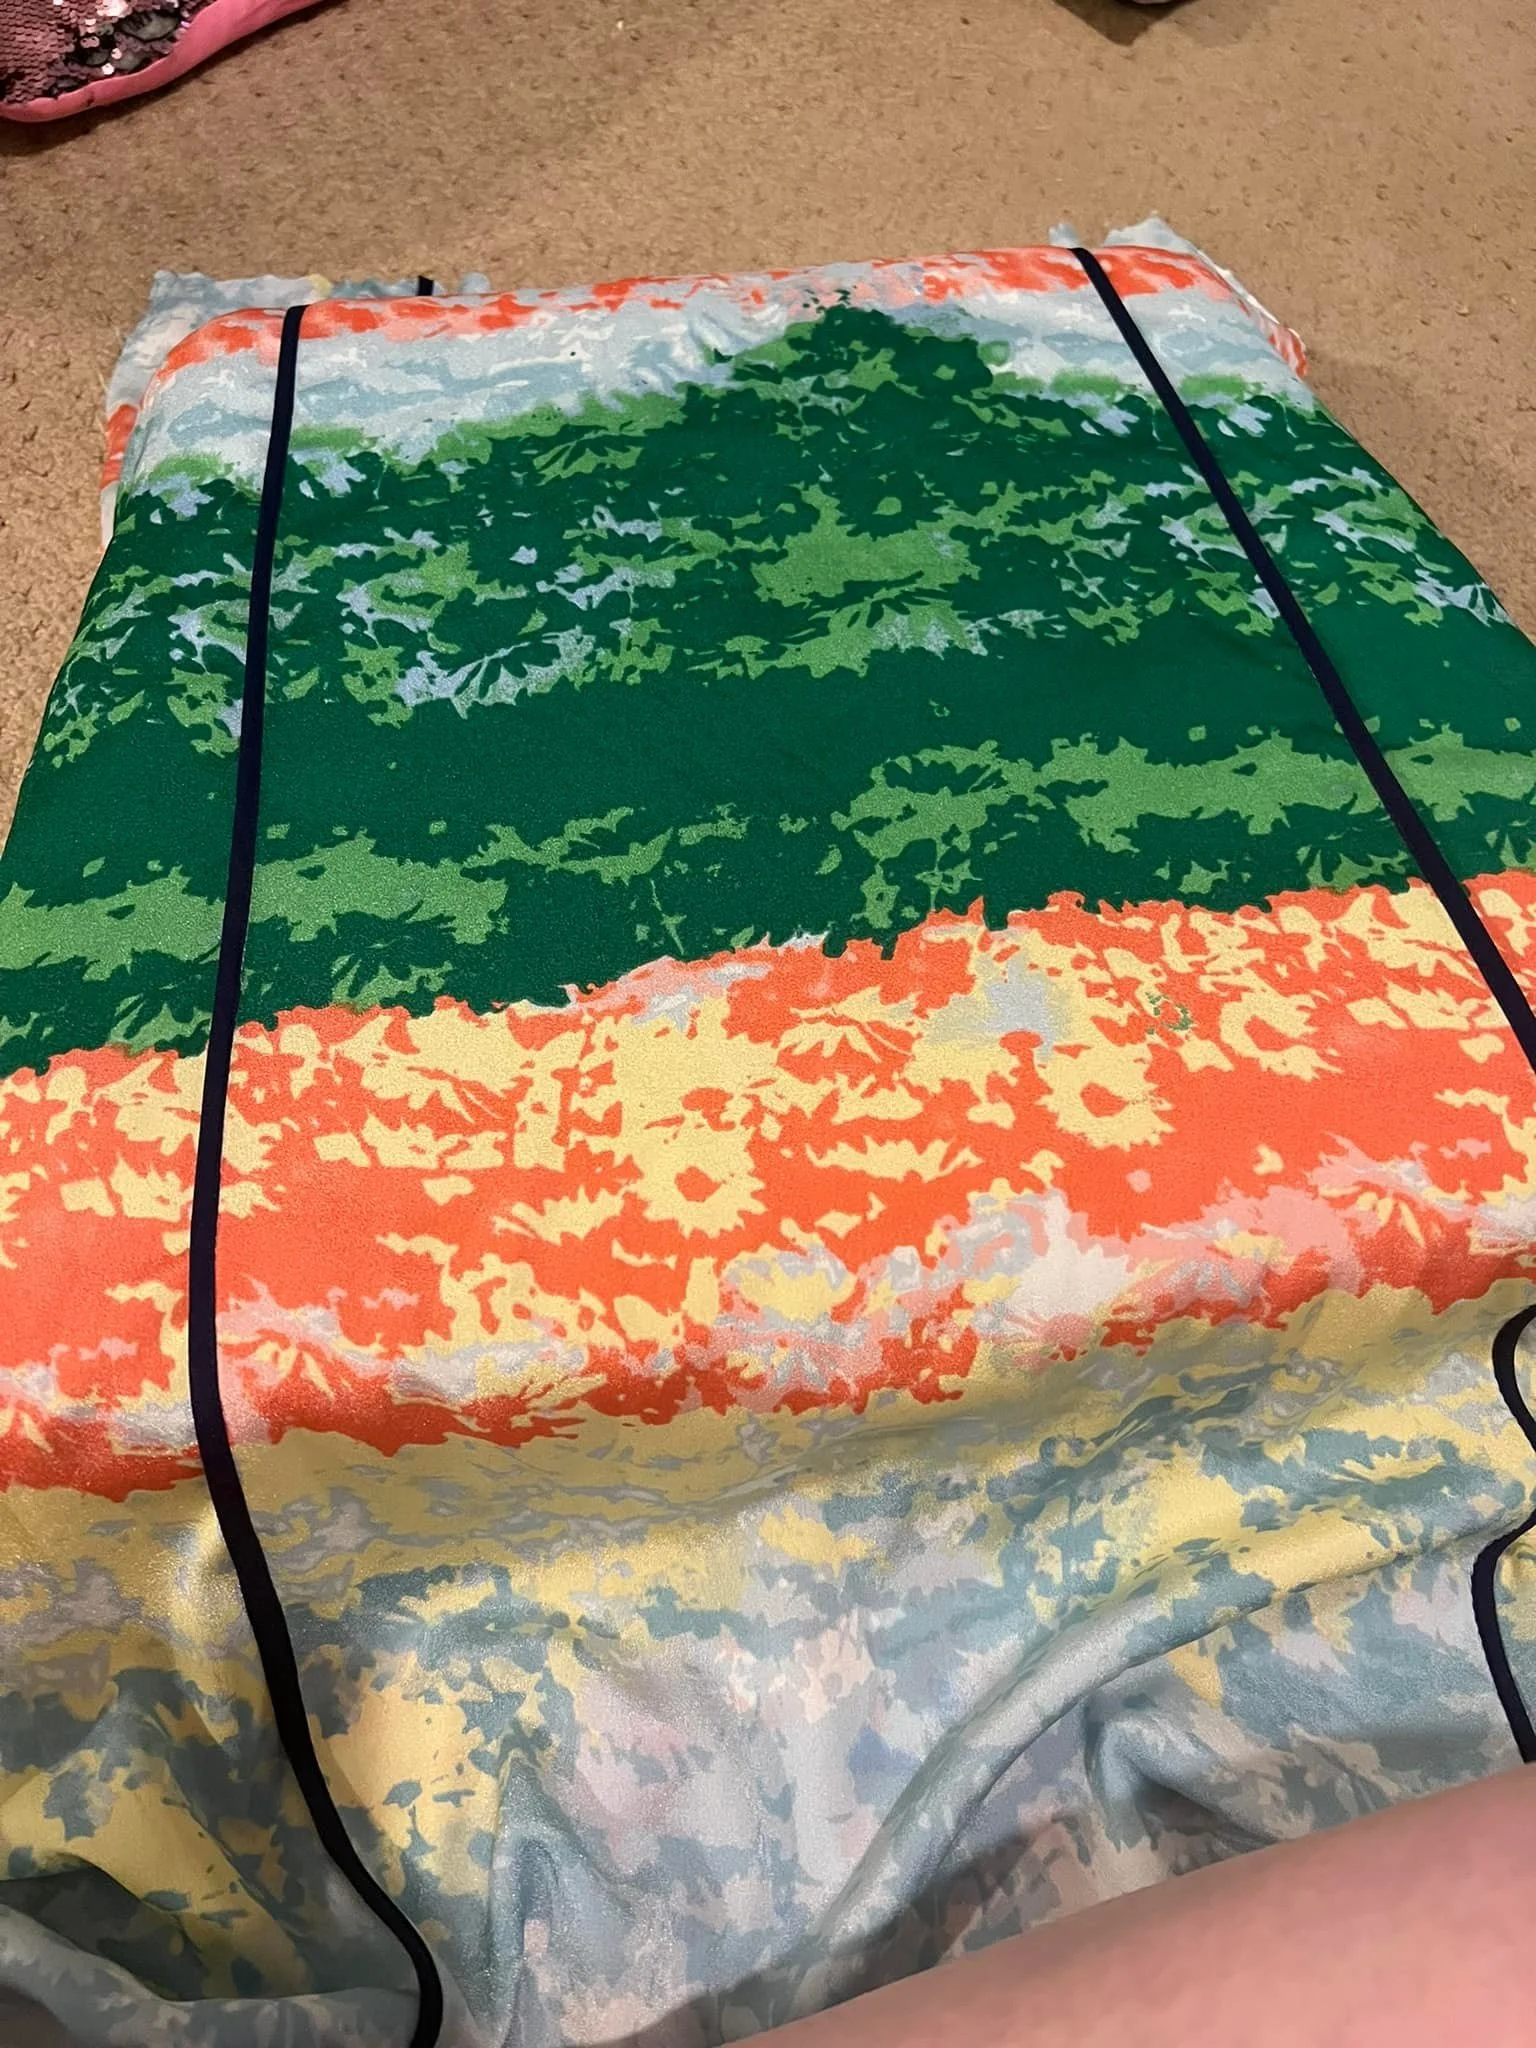
I wanted to show you guys where my fabric came from to remind you to not limit yourself to online/fabric stores/etc. and to go with what you love. I saw this dress at Goodwill and LOVED it and I thought it might really work with the green of the chair so I brought it home.
So because it was a dress I ripped the seam out of the back and cut off the bodice to make a flat piece of fabric, obviously you can skip this step if you’re just using a flat piece of fabric.

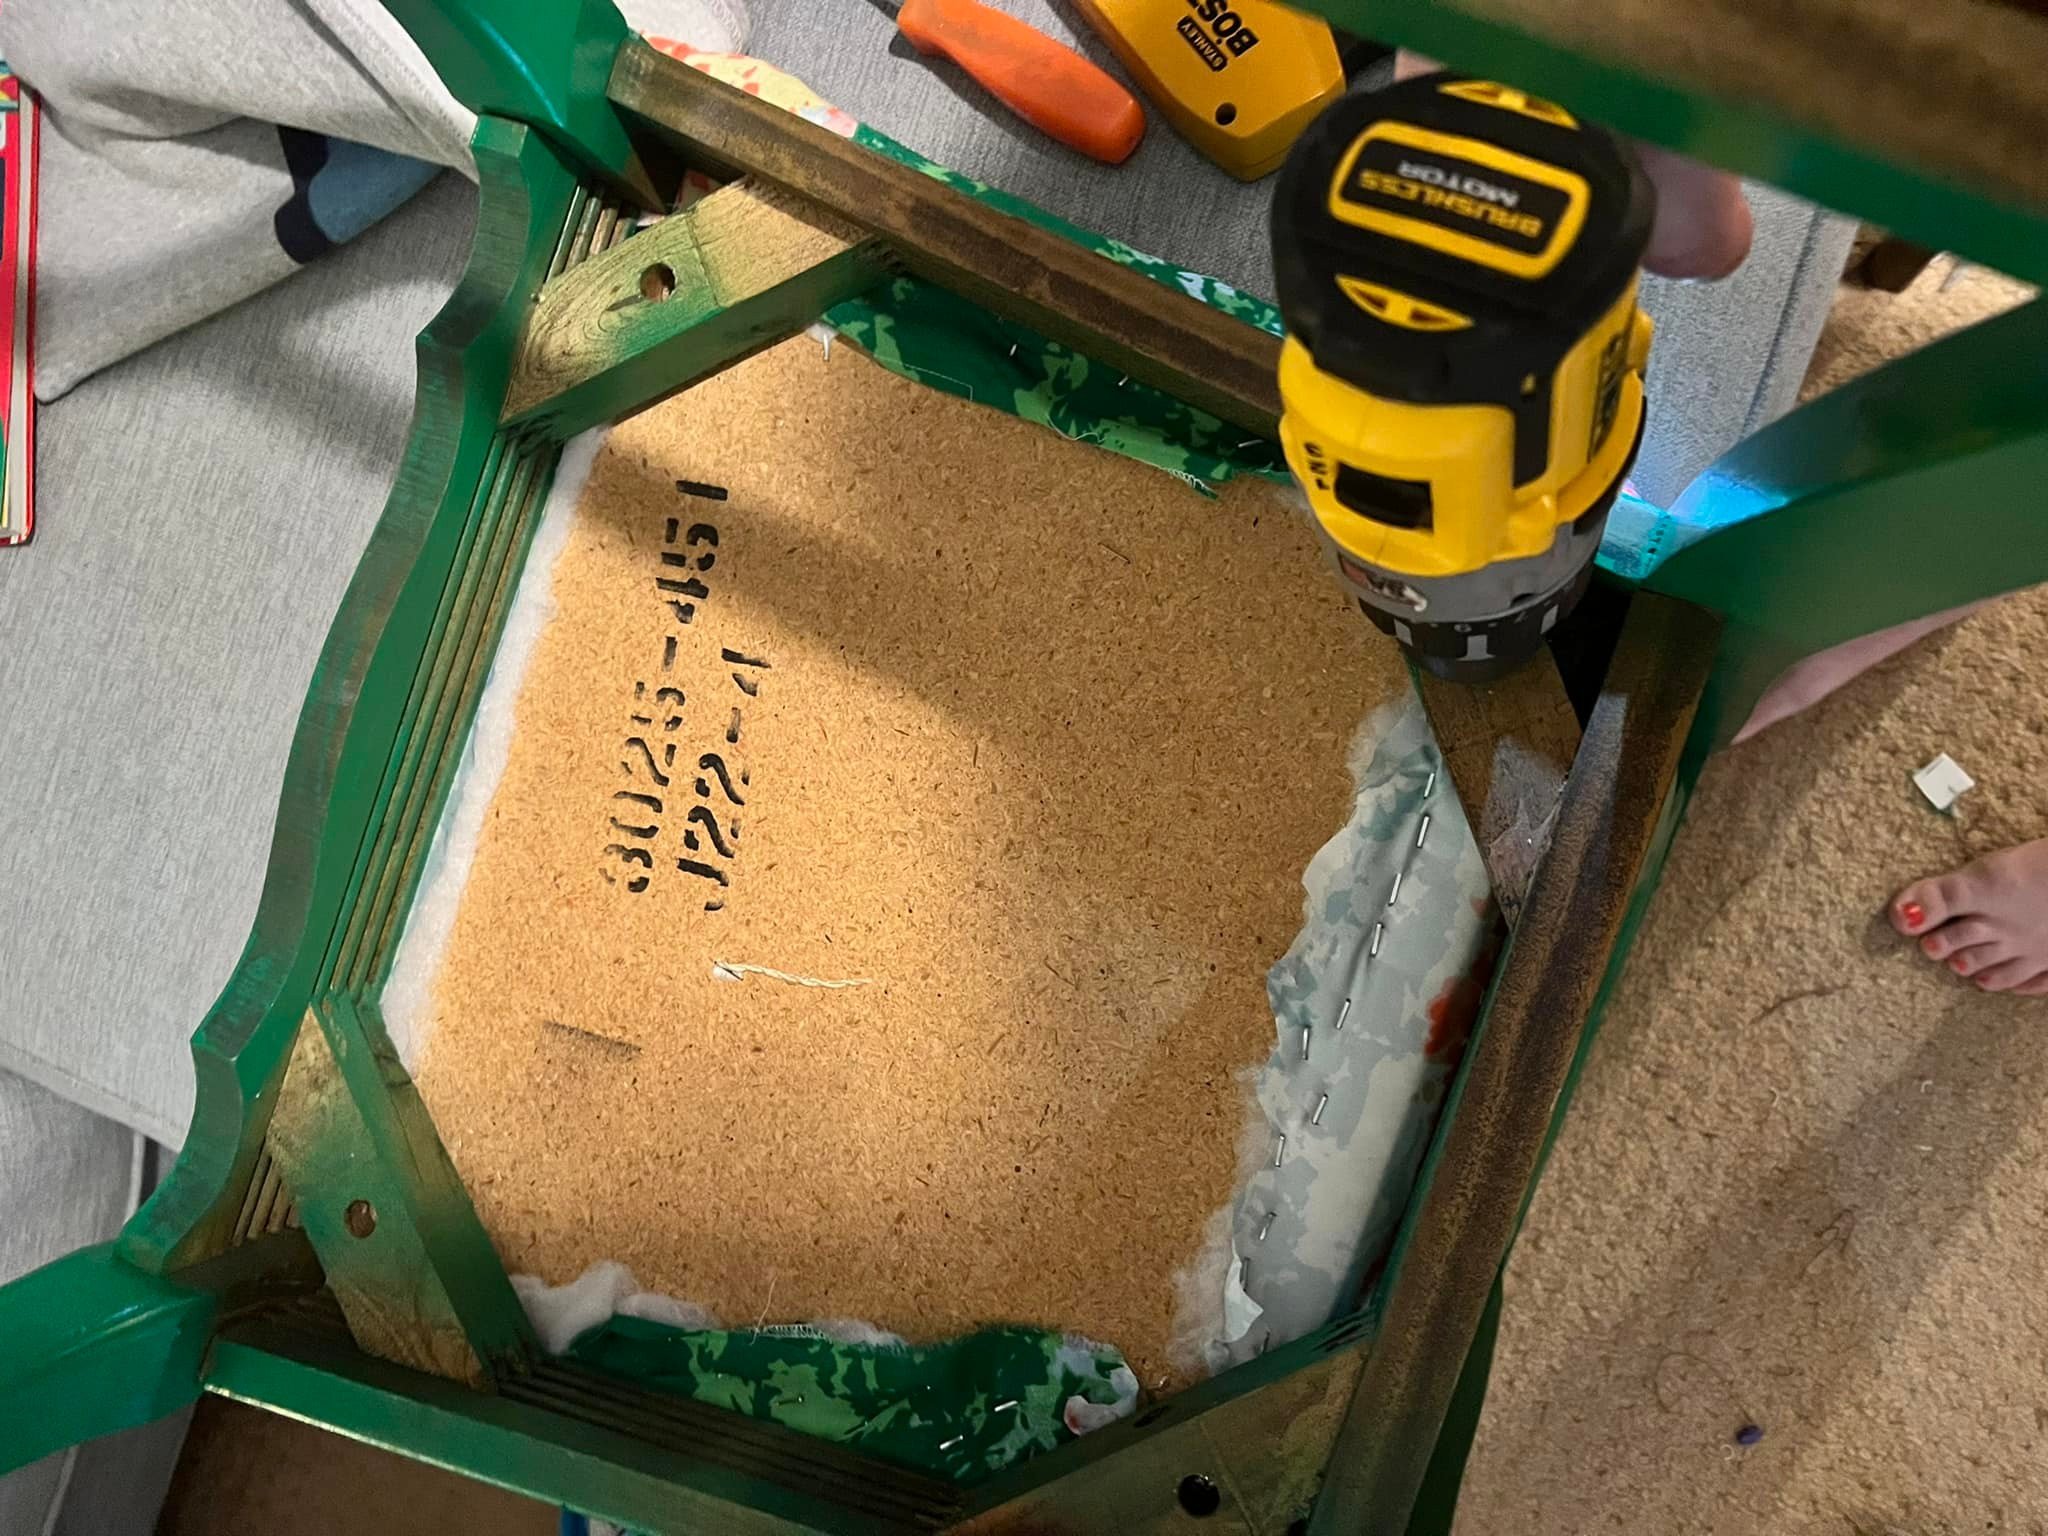
Set the seat on the ground and position your fabric on top. (If you’re also doing foam and batting then you put those on the seat first with the fabric on top.) Then grab the seat and fabric together and flip it upside down. From this angle you can gently shift the seat to get it exactly where you want it on the fabric, and hold one corner of the fabric to the seat and then lift it up slightly to peek under it to make sure it’s lined up how you want it.
If you’re trying to make sure your pattern is straight or lining up trim THIS IS THE TIME TO GET THAT RIGHT. This is also the time to make sure you have plenty of fabric around the sides of the seat. I like to work with a lot of fabric and cut the extra later
Starting from the sides pull one side of the fabric over the side of the seat and onto the wood. Use a couple of staples to just lightly tack it down. How tight you’re pulling depends on your fabric. This fabric was light so I went for very slightly taut. Remember that if people sit on your masterpiece the fabric will stretch and loosen a bit so it’s good to start tight. Tack your first side and then when you go to tack the other side across from it PULL IT TAUT FIRST and then staple it down.

Now gently flip it over and make sure you like the positioning. This is why we’re tacking…if it isn’t right you can pop out the tack staples and mess with it until it is how you want. Once you have it how you like (and flipped back over) tack the front of the seat but use a few more staples than you did on the sides to make sure it’s held down really well.
Flip it back over and see how you’re looking. You can do a bit of nudging or pull out strips of tack staples if you need to straighten it or get one area tighter. Once you have it how you like it (and again, flipped so you’re working on the back side) go to one side of the seat and staple it down permanently. I like to staple from the center to the right side and then the center to the left to help keep the tension on the fabric in the middle constant. I use my left hand to keep the fabric taut while stapling with my right hand.
You need to make sure you don’t cover the holes where your screws go so you may have to cut the fabric and staple around them. Move from one side of the seat to the front (skip the corners), then the other side of the seat, and then the back. Don’t stress if the fabric moves a bit and your staples are pulling tight.
AS LONG AS THE PART PEOPLE WILL SEE LOOKS GOOD YOU ARE DOING JUST FINE

Once you’ve stapled all the way around go back and do your corners, starting with the first front corner. Pinch your fabric right past the corner on the side of the chair and pull it up and slightly diagonally onto the wood of the seat back. It’s very similar to wrapping presents but each seat is slightly different and you can end up with several layers of fabric and batting that may have to be tucked or folded to get the look you want before stapling it down.
Once the first front corner is stapled down, do the other front corner. Your back corners are your chance to right any small wrongs that may have occurred while stapling, and you can pull or tug your fabric tighter or into a slightly different place before stapling them.

Do you need to staple prettily? Heck no. No one cares. Gang, good enough is good enough. Trim your excess fabric, make sure your screw holes aren’t covered and then power screw that bad boy right into his home! Feel free to try my patented “flip this dang chair upside down on the freaking couch to hold the seat to the chair while screwing it in” technique.

And then Voila!!!!! You have covered the chair! Your hand is a little sore from the stapler but it’ll be ok tomorrow! You did it!!!!!!!!